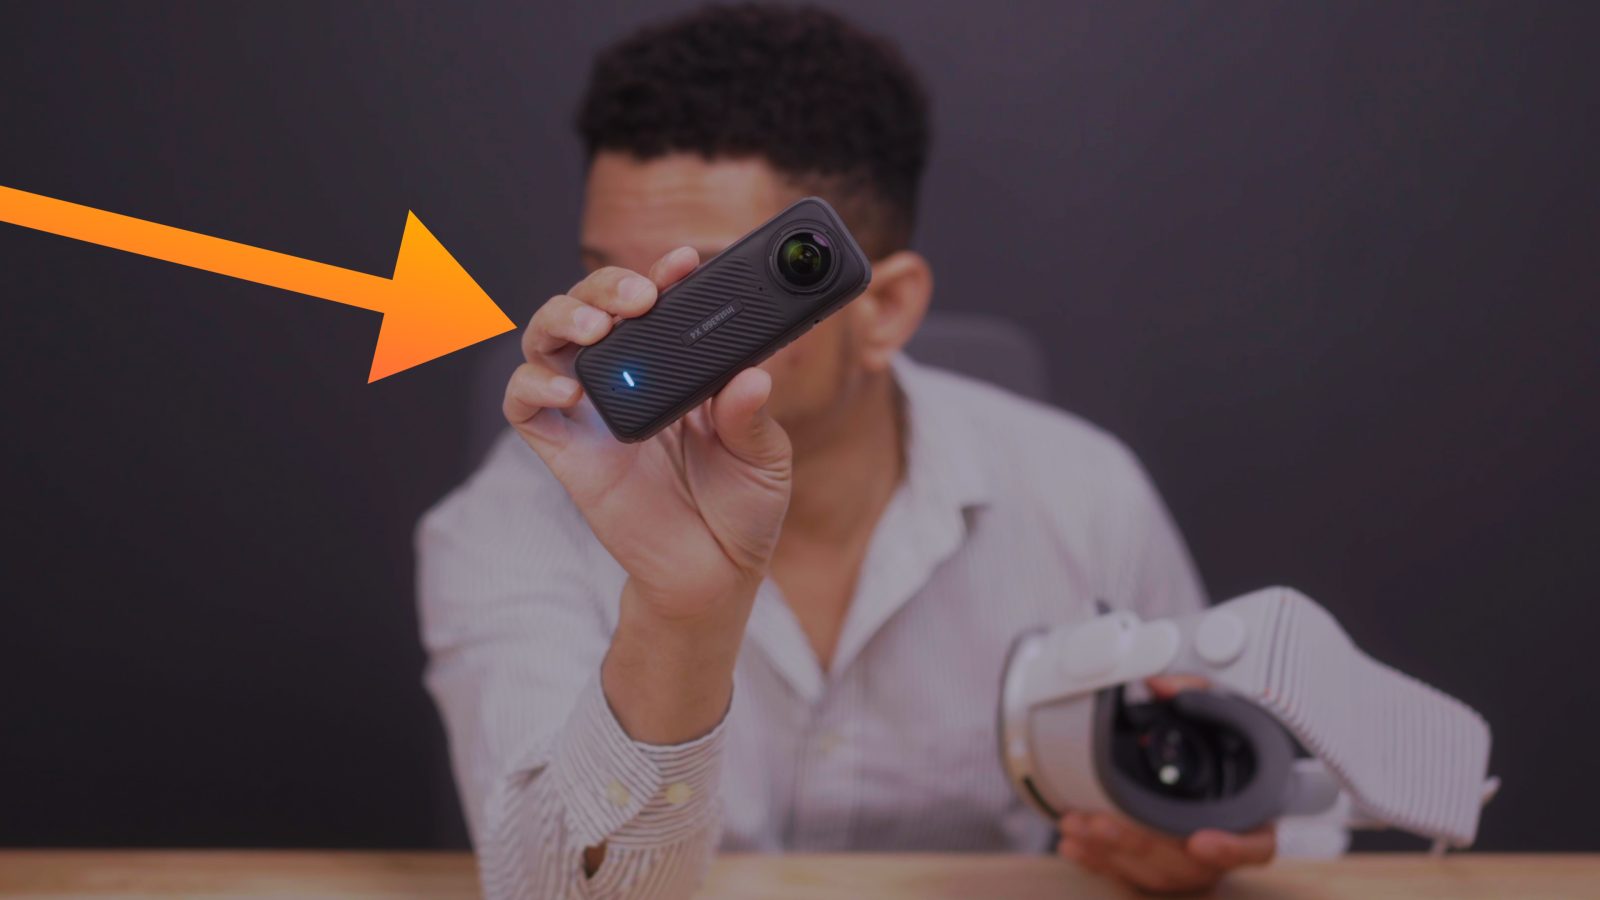
If you’re looking for a way to add 360-degree videos to your Apple Vision Pro, then the Insta360 X4 might be the easiest and most affordable way for you to do so. With this 8K action camera, you can easily shoot, convert, and send high-quality 360-degree video to Apple Vision Pro for watching with full immersion.
The Insta360 X4 was released during NAB 2024, which I covered in this post and video. It’s the company’s follow-up to the popular X3 and is its first to feature 8K capability by stitching two ultra-wide-angle 4K cameras together.
As you might imagine, the Insta360 X4 is likely to be very popular as an action cam, similar to a Go Pro. I plan on using it for bike and car reviews in the near future.
Video Walkthrough
Subscribe to 9to5mac on YouTube for more videos
That said, the very first thing I thought about when I heard about the X4 was the Apple Vision Pro. There aren’t many options available to self-produce 8K 360-degree video without spending a fortune on something like a Canon R5 and Canon’s own dual fisheye lens. And even if you did have the resources to go Canon’s route, the workflow is far from as simple as it is with the Insta360 X4.
That’s not to say that the X4 produces perfect results, but it’s pretty good, given the relatively low price and low barrier to entry. Here’s my brief tutorial on how to transfer 360-degree videos shot with the Insta360 X4 to your Apple Vision Pro for immersive playback.
Step 1: Shoot a 360 video with the Insta360 X4 in 8K 30p.
Step 2: Download the Insta360 Studio app on your Mac, and connect the X4 via USB-C.
Step 3: Offload your footage, make any edits to your footage that you wish to make, and then click the Export button.
Step 4: For export, choose the Export 360 Video tab and select your encoding format. I recommend using H.265 or H.264 to keep the files small so that the AirDrop transfer in the next step is quicker, but I recommend leaving the resolution at its maximum of 7680×3840 and the bitrate at its highest setting.
Click the Start Export button to begin the export.
The video will be added to the export queue, and the conversion and export will begin. Once completed, the resulting file will be placed on your Mac’s desktop.
Step 5: Turn on your Apple Vision Pro, and once it’s at the Home Screen, AirDrop the video file from your Mac to your Apple’s spatial headset using the Finder’s Share menu on macOS.
Step 6: Once you successfully AirDrop the video to your Apple Vision Pro, it will automatically open the Photos app and begin playing back the video. Close the Photos app, because Apple’s default Photos app is not capable of rendering 360 videos properly.
Step 7: Open the App Store on Apple Vision Pro, and download MoonPlayer.
Step 8: Launch MoonPlayer, and select Open from Album. Select your 360 video to begin playing it back within MoonPlayer.
Step 9: Tap the Play button in the bottom right-hand corner and select the VR 360 option to render the video properly.
You will now be fully immersed in your 360-degree video, with full head tracking and spatial audio in tow. The experience is pretty cool, especially since the 8K camera provides relatively high fidelity, allowing you to make out small details in your environment. You can definitely still tell you’re watching a video shot on an action camera, but it’s an enjoyable experience nonetheless, and the audio head tracking makes the experience more immersive.
Considering that immersive content is still sorely lacking on Apple Vision Pro, months after its launch in the US, this is a good way to supplement the experience with your own custom-made content.
Do you own an Apple Vision Pro? If so, would you consider using a camera like this to shoot 360-degree videos? Sound off in the comments below with your thoughts.
FTC: We use income earning auto affiliate links. More.

 6 months ago
102


 English (US) ·